SAFETY
OPERATING
CLEANING
MAINTENANCE
STORING
REMOTE & BATTERIES
INSURANCE

FIELD BIN USER GUIDE
Read this information thoroughly and ensure you understand how to properly and safely operate this product.

1. SAFE OPERATIONS OF FIELD BIN
- Read all safety precaution stickers on field bin prior to use. Should stickers need replacing please advise Moylan Grain Silos.
- Check the field bin is free of obstructions and foreign debris.
- Follow all operating, cleaning and maintenance instructions.
- Keep away from moving parts when in use. Do not enter field bin.
2. OPERATING FIELD BIN
When filling Field Bin
- Ensure you are on level ground. If not on level ground damage to walls could occur.
- Field bin hydraulics must be lowered when filling.
- Prior to season run bin to ensure all parts are working.
- Trickle feed first 2 tonne for season slowly to ensure barrel flighting is operating efficiently.
When moving field bin
- Field bins must be empty when transporting
3. CLEANING FIELD BIN
- Field bin must be cleaned and empty of any product when not in use.
4. MAINTAINING FIELD BIN - CHECK REGULARLY
- Check auger mounting points for fatigue. Report any fatigue to Moylan Grain Silos.
- Ensure drive shaft bearings, double universals and PTO shaft are adequately greased and lock nuts and pinch bolts are tight.
- Check all towing points for fatigue.
- 40 psi tyre pressure
5. STORING FIELD BIN
- Field bin to be stored on level ground with jack stand down. Do not move bin with jack lowered.
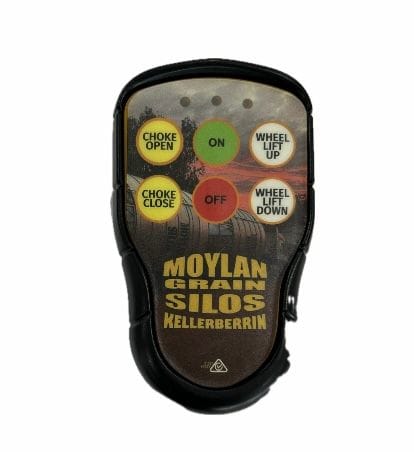
6. REMOTE & BATTERIES (NOT ON HIRE BINS)
- Field bin remotes are delivered and located at the front of the bin under clear perspex.
- Store your remote in a convenient place during the off-season
- There are two (2) batteries in the remote which must be checked each season. A good idea to take batteries in the remote which must be checked each season. A good idea to take batteries out during the off season.
7. INSURANCE & SERIAL NUMBER
- Your serial number is stamped on the side 60.##.15 or 45.##.15 or 45.##. 1 (TON.SERIAL NO.AUGER)
- Suggest insuring for replacement value

Older remotes have four (4) batteries. Pull the entire cartridge out to replace or store each season.
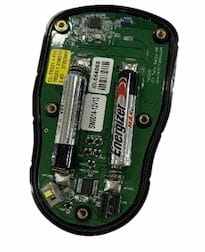
New Remotes two (2) batteries.